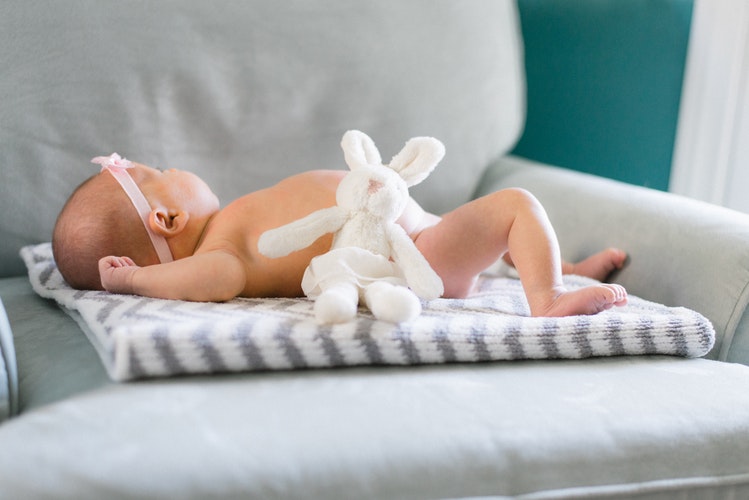
At the end of the day, who doesn’t love baby pictures? Whether they’re ways to chronicle the childhood of your own son or daughter or images of a niece, nephew, grandchild, or family friend, so much joy and nostalgia can be brought on by browsing through a handful of images from years past. The prospect is so ingrained in us that there’s nothing uncommon about seeing pictures posted on Facebook of a child posing for professional photographs that look stunning and wonderful—images that probably have a series of likes, loves, and laughs as reactions because so many people appreciate seeing the beautiful images of childhood innocence.

But there’s one twist to this scenario. That twist is that some kids just don’t like having professional photos taken, and I happened to be one of those children in my younger days. In fact, my horror over the prospect of sitting in public while a stranger snapped my picture led my mom to dress me up in a fancy dress so she could take a home-shot photo to enlarge for display. As funny as this story might be when my mom tells it, there’s a whole lot of insight to be found in her solution, insight that you can employ in your own parenting journey.
That insight is this: If your child won’t sit for a photo by a professional, what’s to stop you from snapping a photo at home—particularly with all of the technology that we have at our fingertips these days?
You might be thinking over the pictures you’ve taken on your own and mentally affirming to yourself that there’s no way that your photo skills would let you pull off something like a professional-looking photo at home. By applying just a handful of tips, though, your images could boost from normal, around-the-house pictures to home-based, but professional-looking photos that you could share with your family and friends. Keep reading for those tips! Be on the lookout for cheap props. That’s right. I said it. You can “stage” (Brunner, 2011, “David Churchill” paragraph) these photos. Just like the photographer of your elementary days might have come with a pull-down backdrop on picture day, you can have a stash of backdrops as well to create the environments you want for your photographs. Options include scene setters, your own fireplace, or even a blanket or curtain that cleanly hangs behind the child. Some of these prospects can be found in your own home, and those scene setters can be bought for as little as ten dollars. Great places to shop for these background possibilities include Party City and Oriental Trading since both offer relatively cheap wall décor options that could bring life to a number of themes you might want to embrace in your photographs—whether a holiday or specific cartoon.
Other options extend outward beyond the backdrop, and if you think about professional photos, that idea solidifies. Professional photographs might have a child reading a book, standing by a Christmas tree, sitting in a pumpkin patch, or playing with a toy—something constructed, basically! Just take a few moments to decide what theme you want for your image, and think about things would bring that theme to life. Set the scene in a three-dimensional way that your child can be a part of for a lovely photograph.

Table of Contents
ToggleKeep the shots clean.
You might think that this clean prospect means to make sure the image isn’t blurry and such, and certainly, those are details worth considering for a professional-looking photograph (Clarke, 2014)! Don’t overlook, however, how beneficial giving the area you’re photographing in a good clean could be. If you’re taking a picture by that fireplace, make sure the area has been given a good shine for a striking image, and also take note of any décor that you might not want to be part of the photograph (PAIGE, 2012). Taking a picture of your toddler doesn’t have to include an image of Grandpa Dave in the background, as an example, so you might want to make sure that nothing is in the frame of the photo that you don’t want to be there (Harmer, n.d.). Otherwise, your final product could be littered with details that take away from the photograph and make its non-professional detail clear to any viewer.

Pick a good spot in your home.
Really think about your home’s design to come up with the perfect place to set up your amateur photo shoot by making use of the advantageous spots of the house. For instance, if you have a specific doorway that is striking, you might want to utilize it in some way. As one source points out “framing” (Clarke, 2014, “Framing” section) can help to draw a viewer’s eye right to the subject of the photograph—specifically, your child.
You might also want to choose an area of your home that is well lit (Clarke, 2014), maybe by a sizeable window, and adding a bit of sentimentality might not hurt either. A spot where you read with your child, as an example, might provide the perfect spot to shoot a photo of your child browsing a Dr. Seuss book. Keep your options open, and really consider every avenue of exploration that your home could provide you to come to the exact right image!

Brush up on your communication skills.
Snapping a photo is a technical process that just about anyone can do. It’s so technical, in fact, that you might have no idea how something as abstract as communication could help to boost the process into something more professional-looking. Don’t doubt though that a little communication can go a long way to bring about the perfect image!
Think about a child who’s resistant to having their picture taken, one where the photographer has to almost chip away at their hesitance to find a smile underneath. That photographer might make faces, create odd noises, or talk to the child a friendly way to work a smile outward. If you’re taking on the role of the photographer through an at-home setting, this part of the scenario becomes your job (Clarke, 2014). Fortunately for you, however, you might be more familiar with your child’s personality to know what could spark a smile from them more easily than a professional photographer could, so this aspect might work toward your benefit!
Communication is also important because how we communicate can set the atmosphere that we exist in. If you sound enthused and bored, your child might not be too interested in the photography either. If you get aggravated and snappy because the process is harder than you thought it was going to be, your child might also get frustrated and anxious, and neither of these prospects are good for creating photographs you want to keep. Remember then to make the process fun for your child, and always communicate in a manner that encourages rather than discourages.

Be aware of your camera.
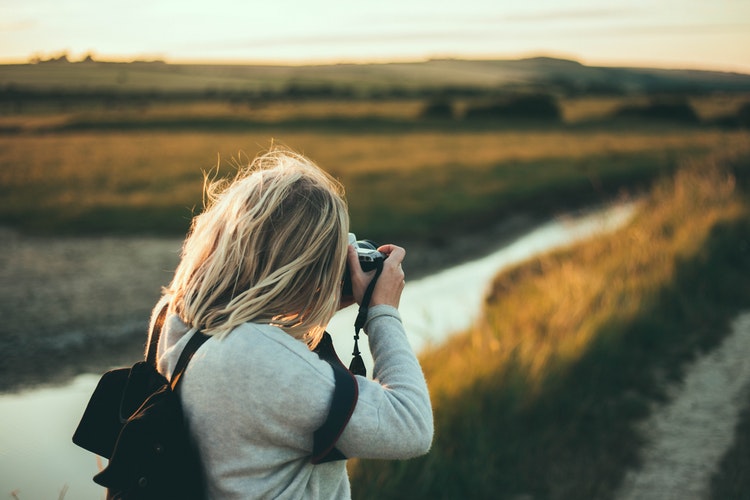
One of the biggest disadvantages you can give yourself as a photographer is to not take the time to know how to work your camera (Clarke, 2014). There are various light options, color possibilities, photo types… If you don’t learn what each of these is, you could be missing out on great strategies that could bring your photographs to life. Take the time to learn what all your camera will do and how to perform those tasks, and then employ that knowledge for the best images you can create. One great way to do this is to utilize your zoom lens effectively (Harmer, n.d.). This small detail can let you cut out details surrounding the photograph’s scene that you don’t want in the picture, and it can also help you to fully hone in on exactly what you want to snap a photo of. For clarity, depth, cleanness, and sharpness, the right zoom option could work to your favor—but only if you know how to utilize it on your camera. Basically, get to know your camera as well as you can!
By following these tips, you could create professional-looking photographs for a cheaper price than what the professionals charge in a setting that brings your child more comfort than the typical options—a setting that you can tailor yourself for any holiday or season. It’s a win/win/win, basically, and one that’s a close possibility with just a camera, an eye for detail, and a handful of props.
References
Brunner, V. (2011, May 12). How to Take Beautiful Home Photos.
Retrieved from https://www.houzz.com/ideabooks/412243/list/how-to-take-beautiful-home-photos
Clarke, L. (2014, January 24). 40 Tips to Take Better Photos.
Retrieved from https://petapixel.com/2014/01/24/40-tips-take-better-photos/
Harmer, J. (n.d.). 13 Ways to Make Your Photos Look Professional.
Retrieved from https://improvephotography.com/35020/how-to-make-a-photo-look-professional/
PAIGE. (2012, September 13). 34 Tips to Prepare a Home For Professional Photography.
Retrieved from http://bhgrealestateblog.com/34-tips-to-prepare-a-…
Source: Digitalphotoshack.com


